Step 1
Open Claude connectors
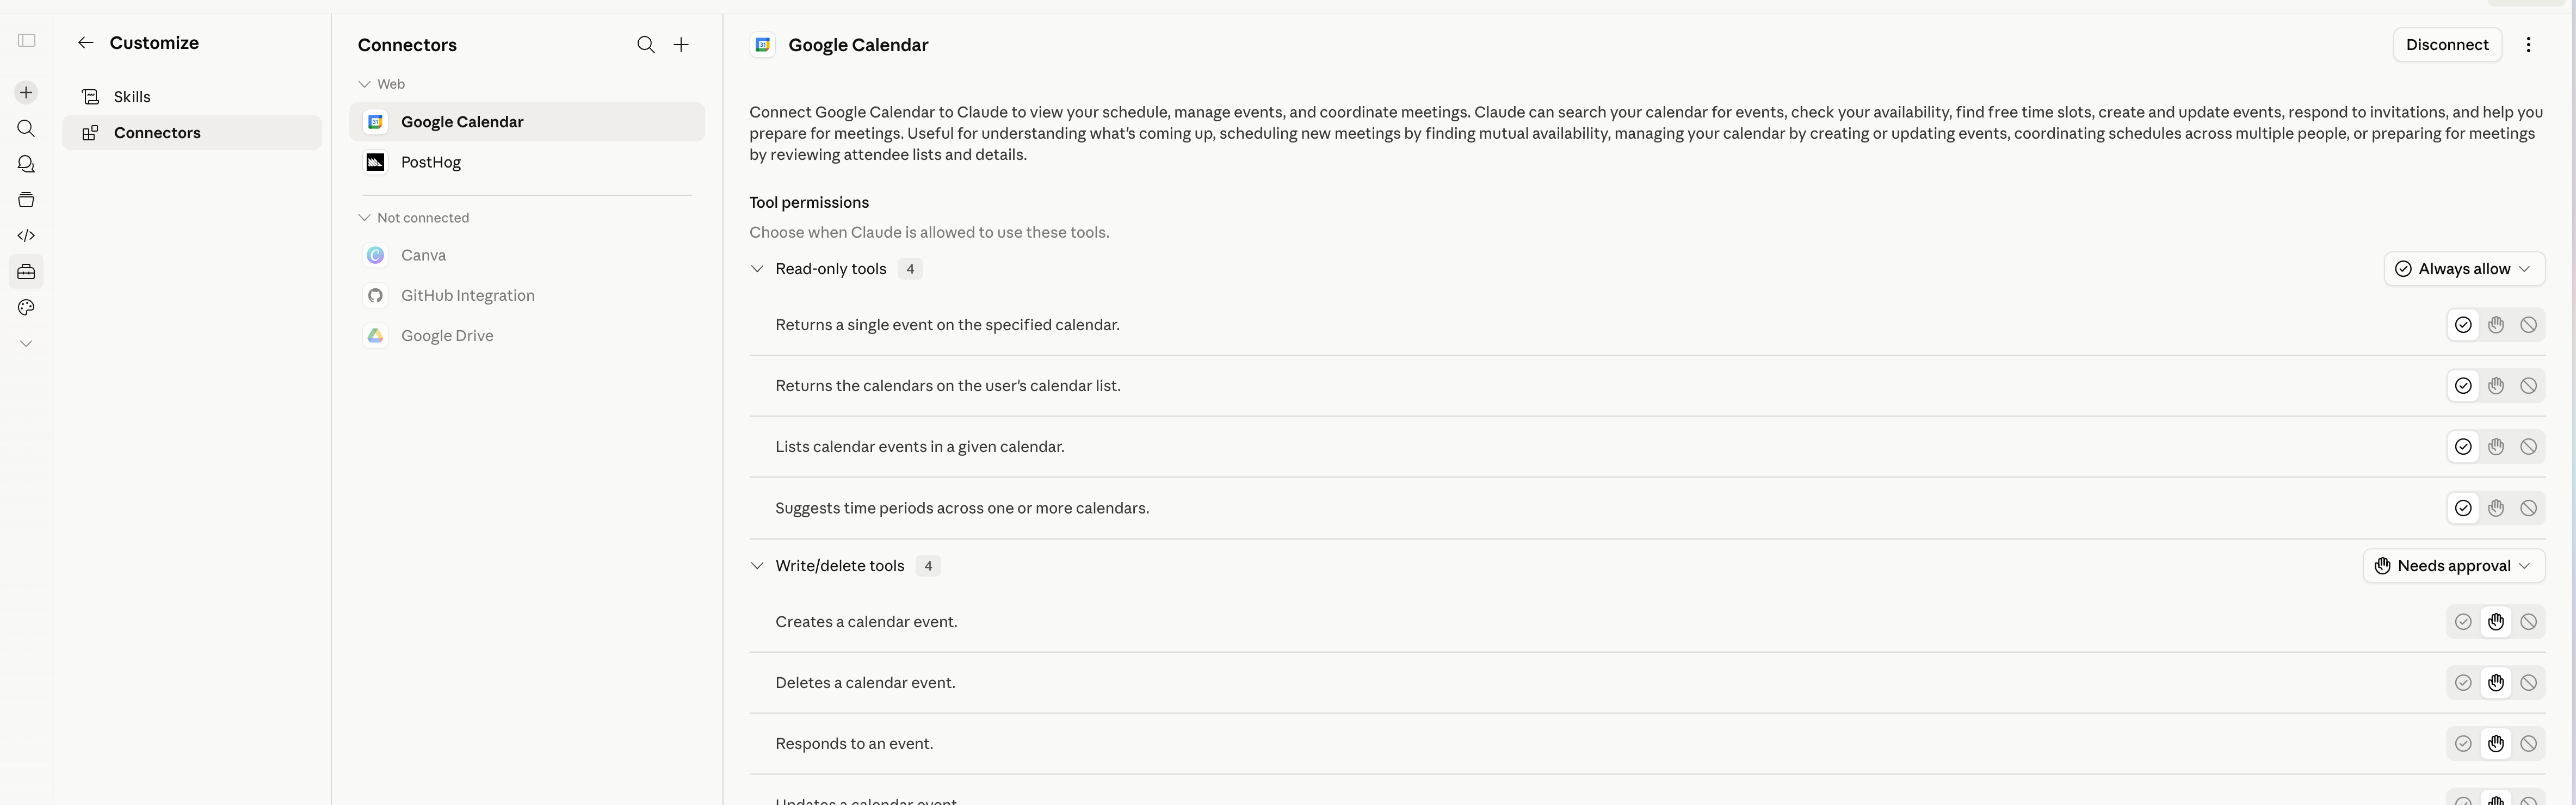
Go to https://claude.ai/customize/connectors . This opens the connector management page.
Claude MCP setup
Add the Skylar MCP connector to Claude, connect your authorized Skylar account, and run a first command.
Step 1
Go to https://claude.ai/customize/connectors . This opens the connector management page.
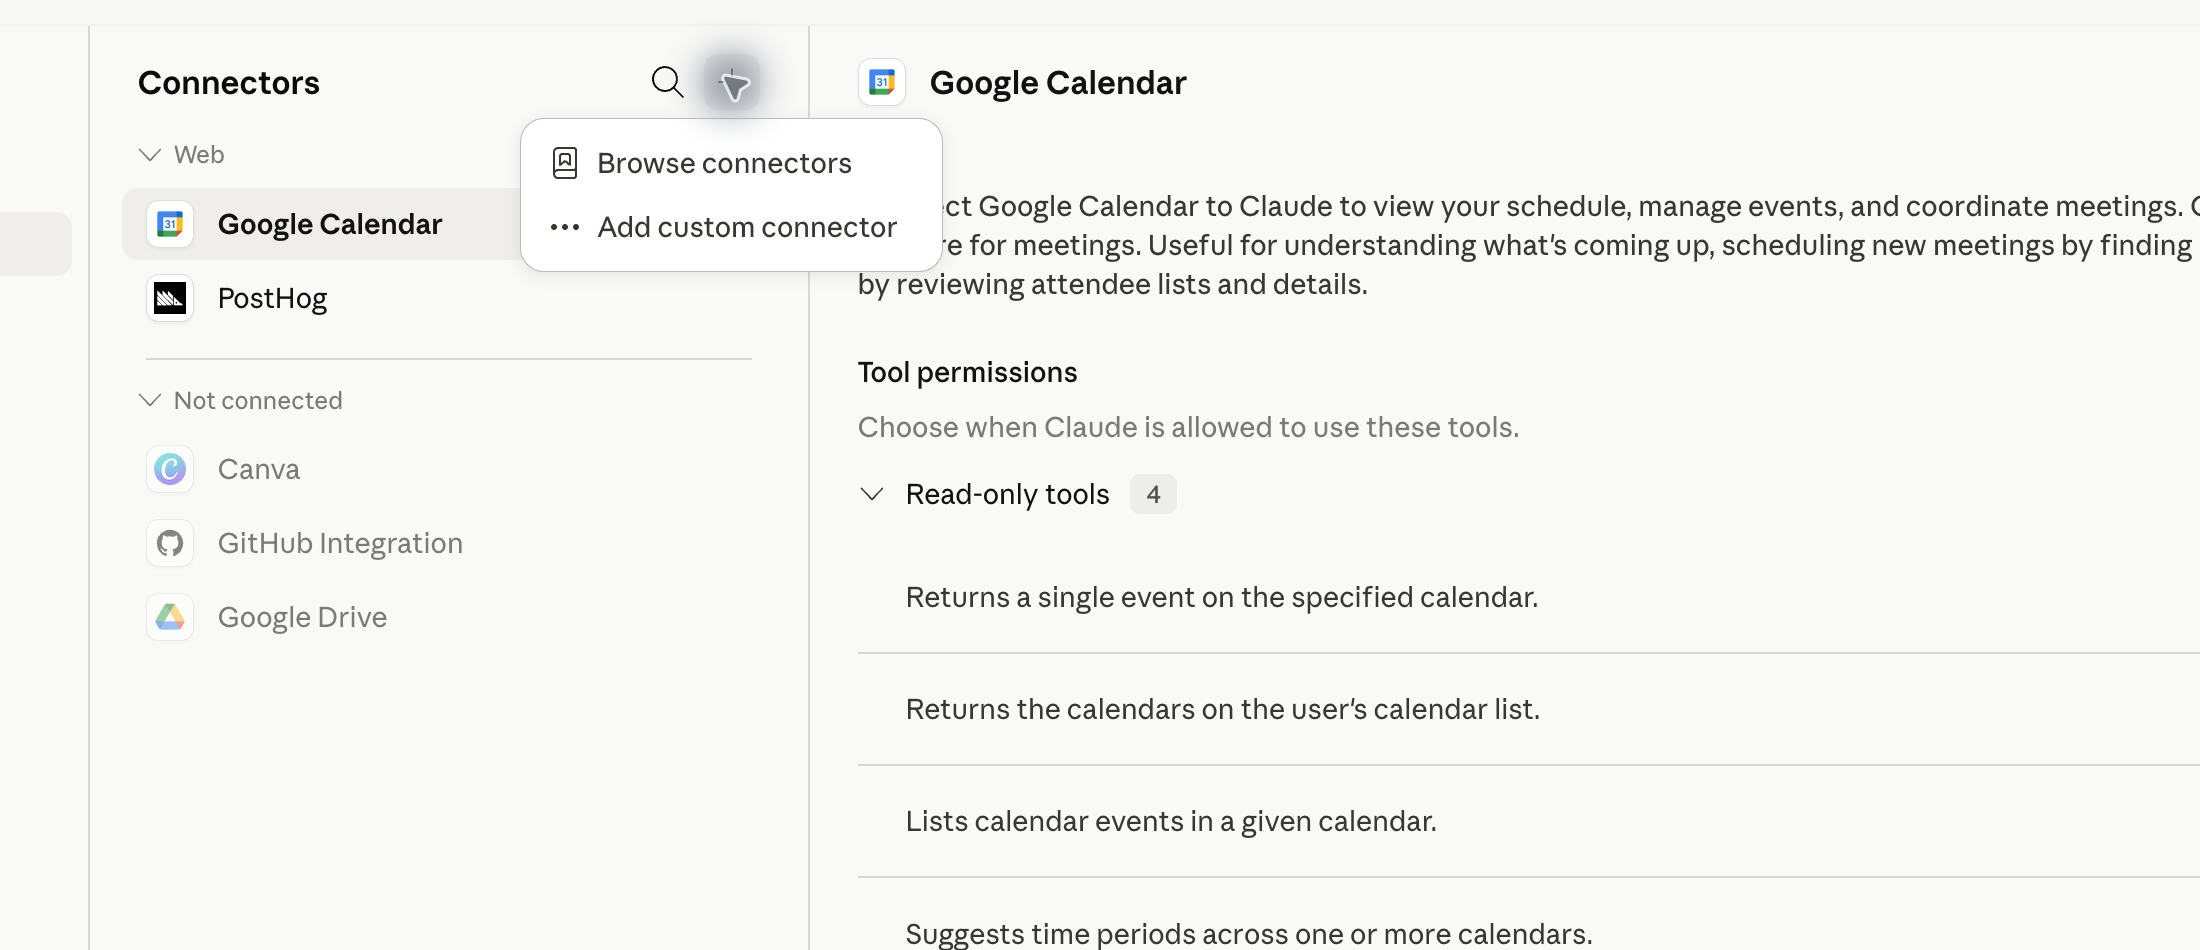
Step 2
Click +, then select Add custom connector from the menu.
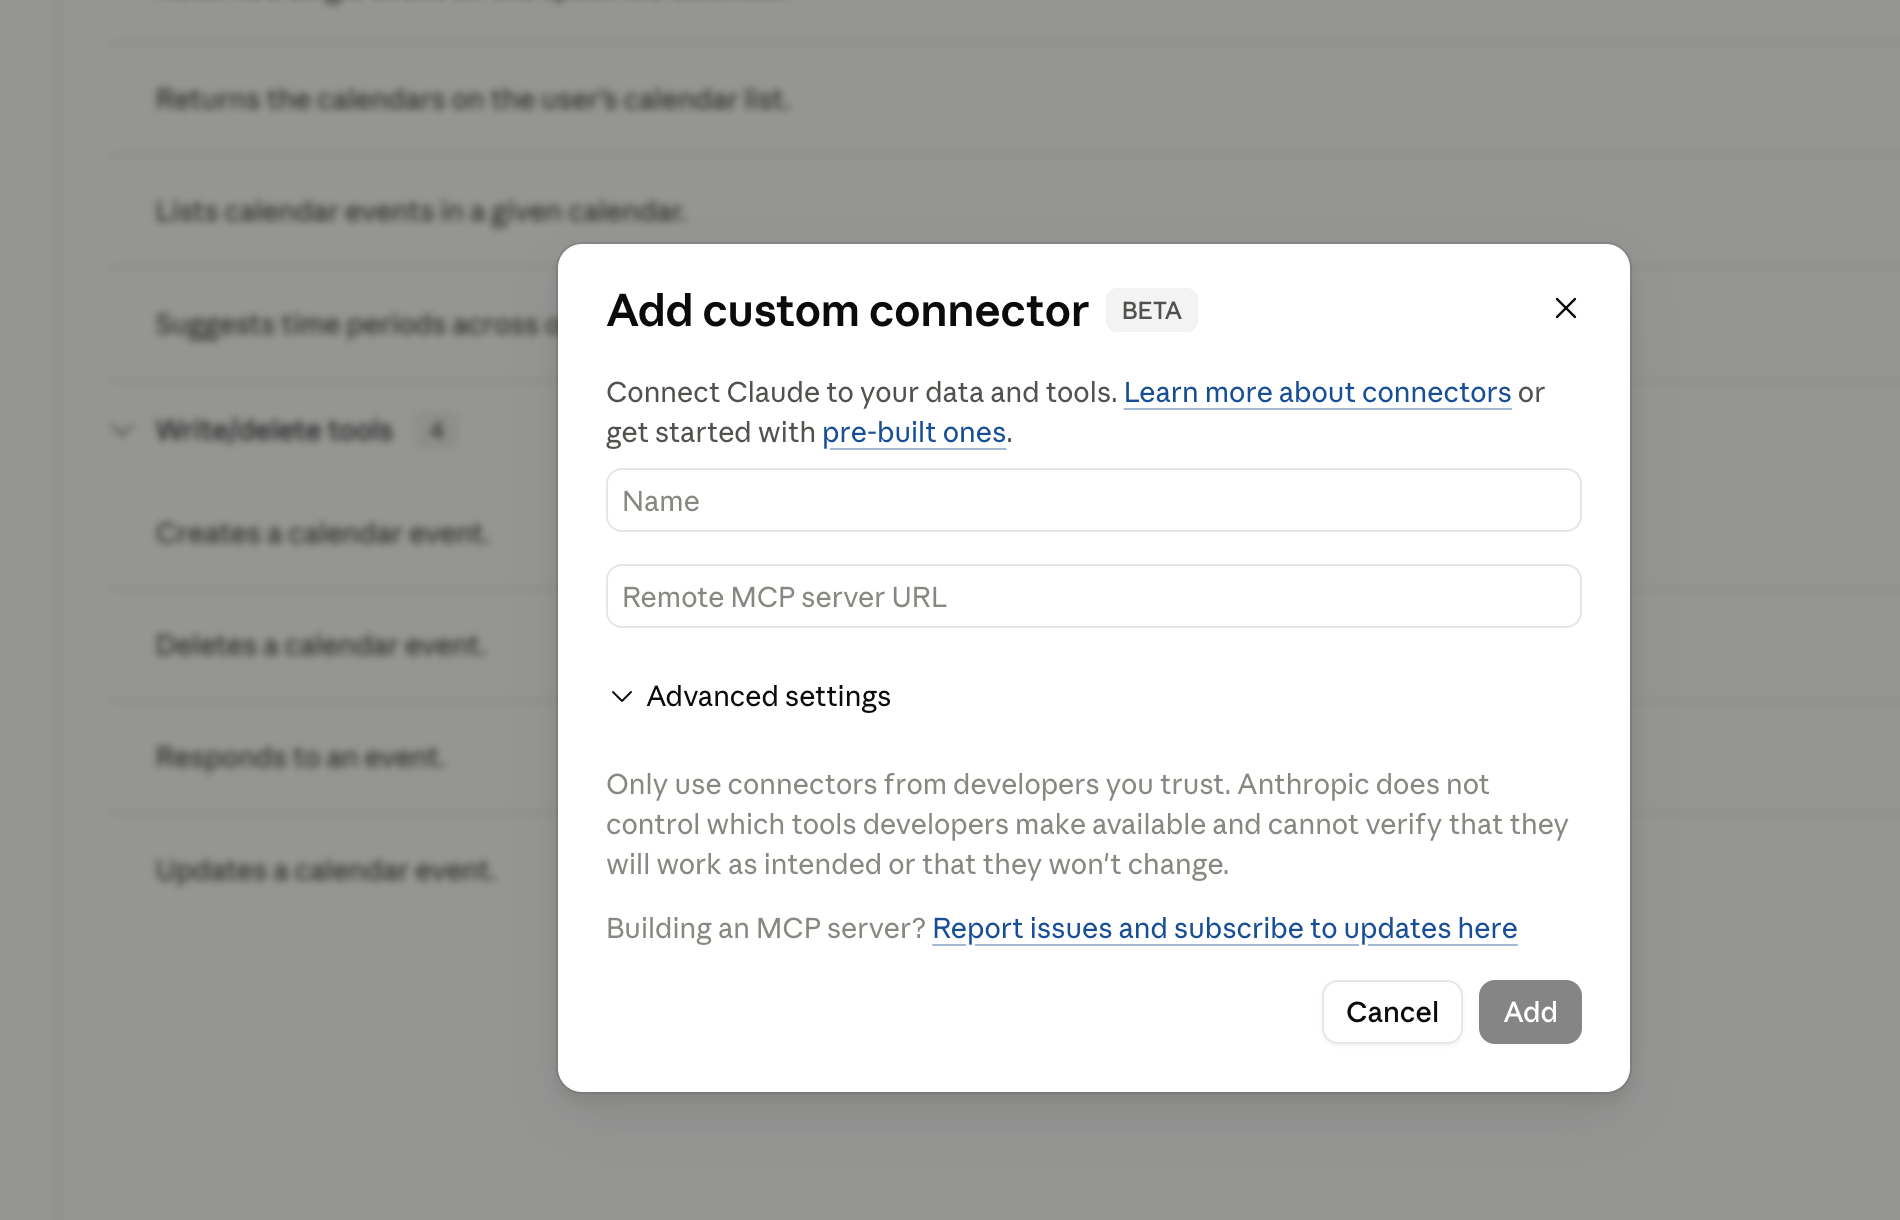
Step 3
Claude opens the Add custom connector form.
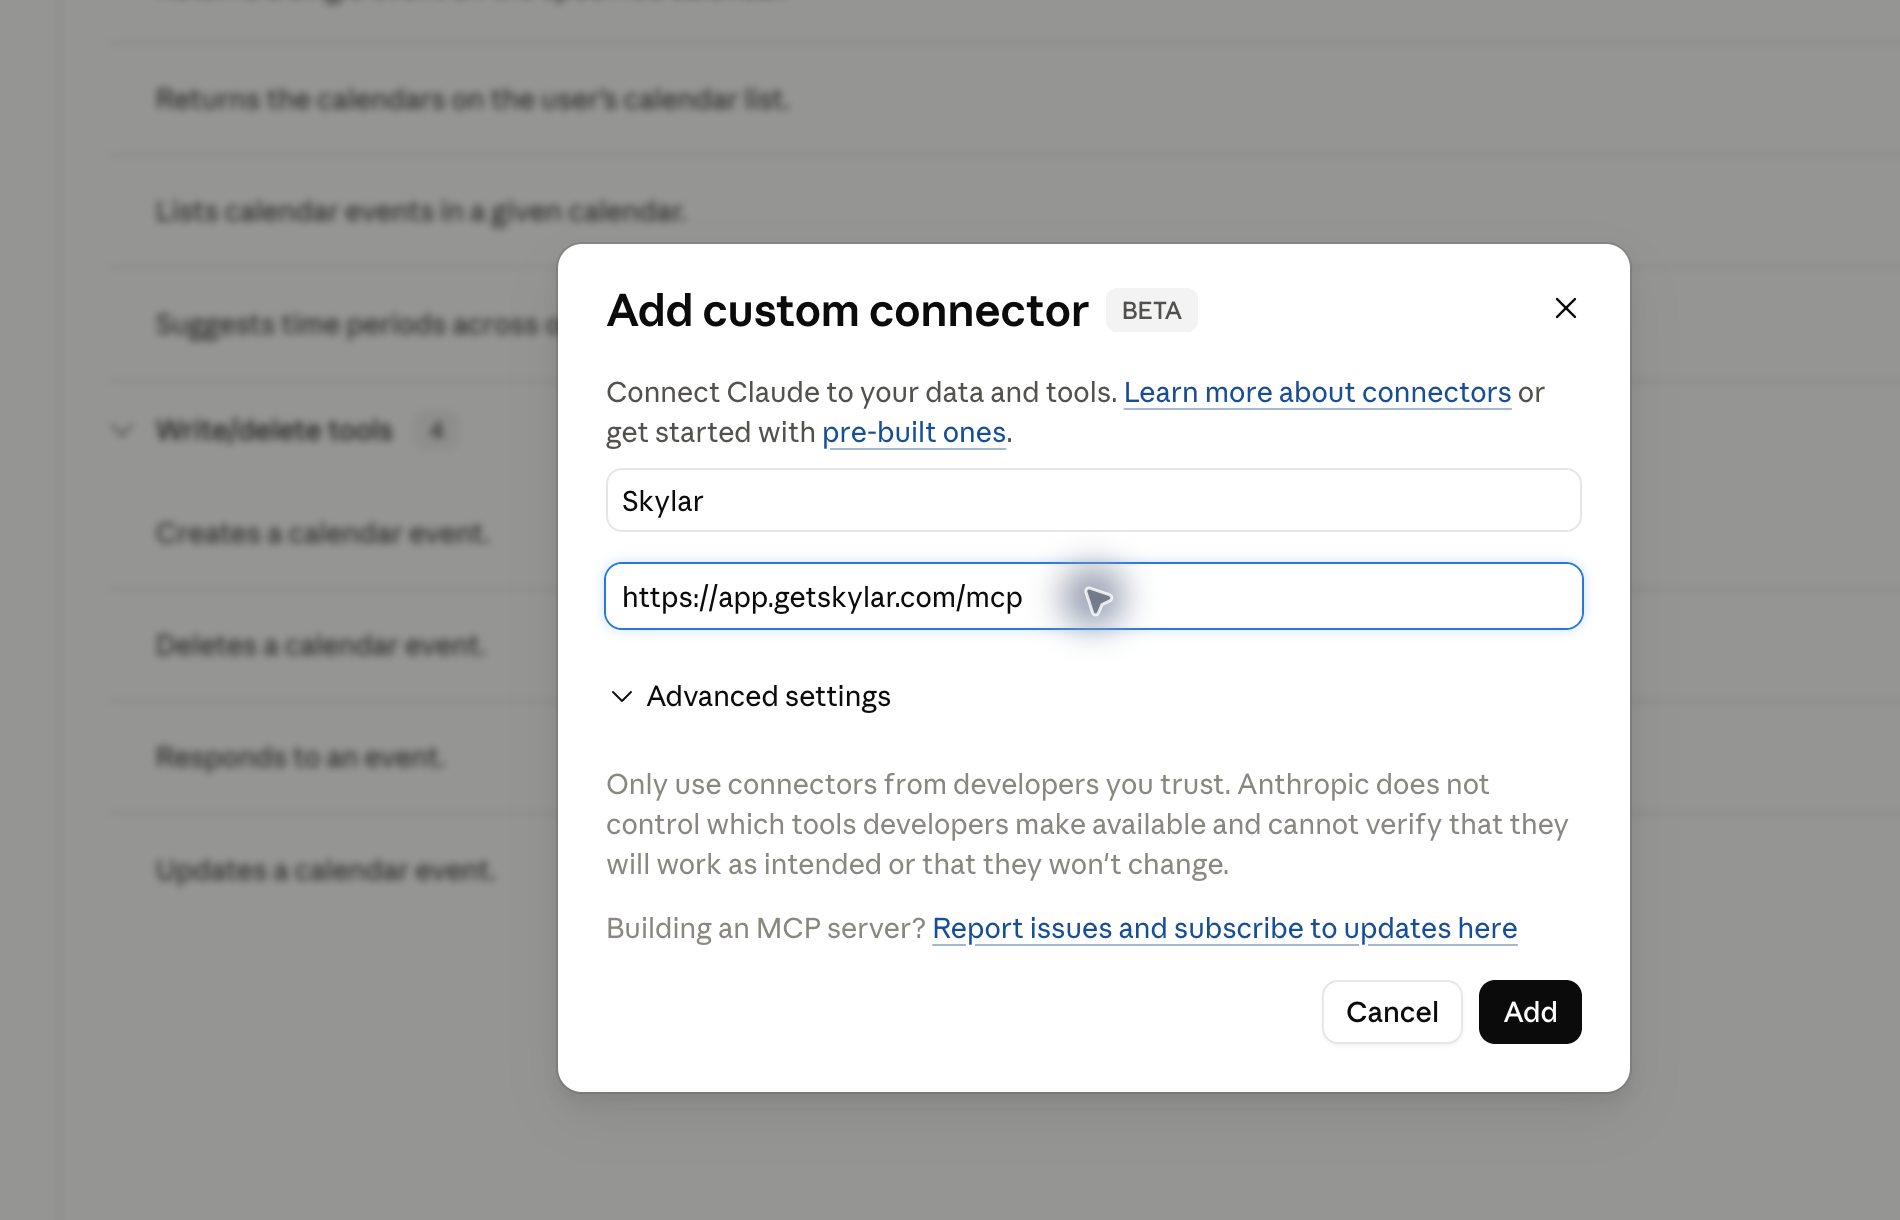
Step 4
Set the name to Skylar and the remote MCP server URL to https://app.getskylar.com/mcp. Leave OAuth Client ID and OAuth Client Secret blank unless Skylar gives you specific values.
Step 5
Once the connector is connected, open a new Claude chat.
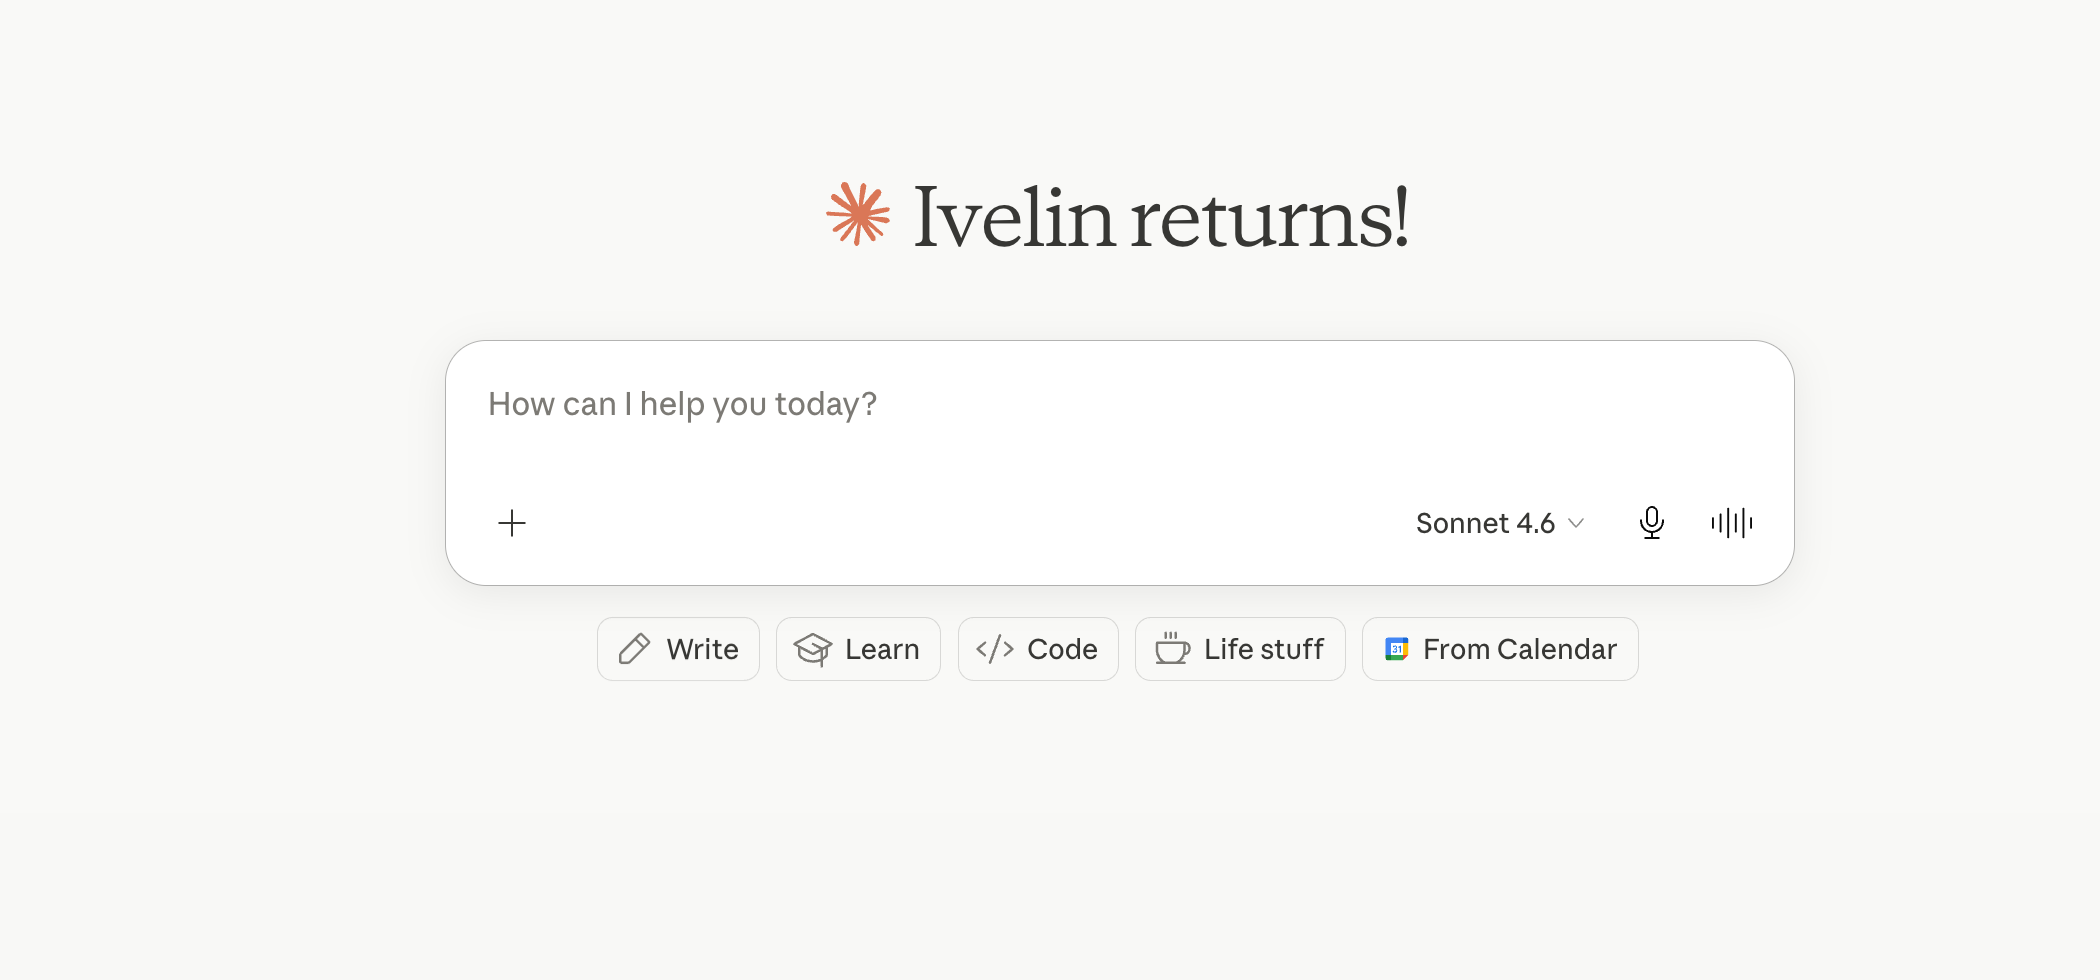
Step 6
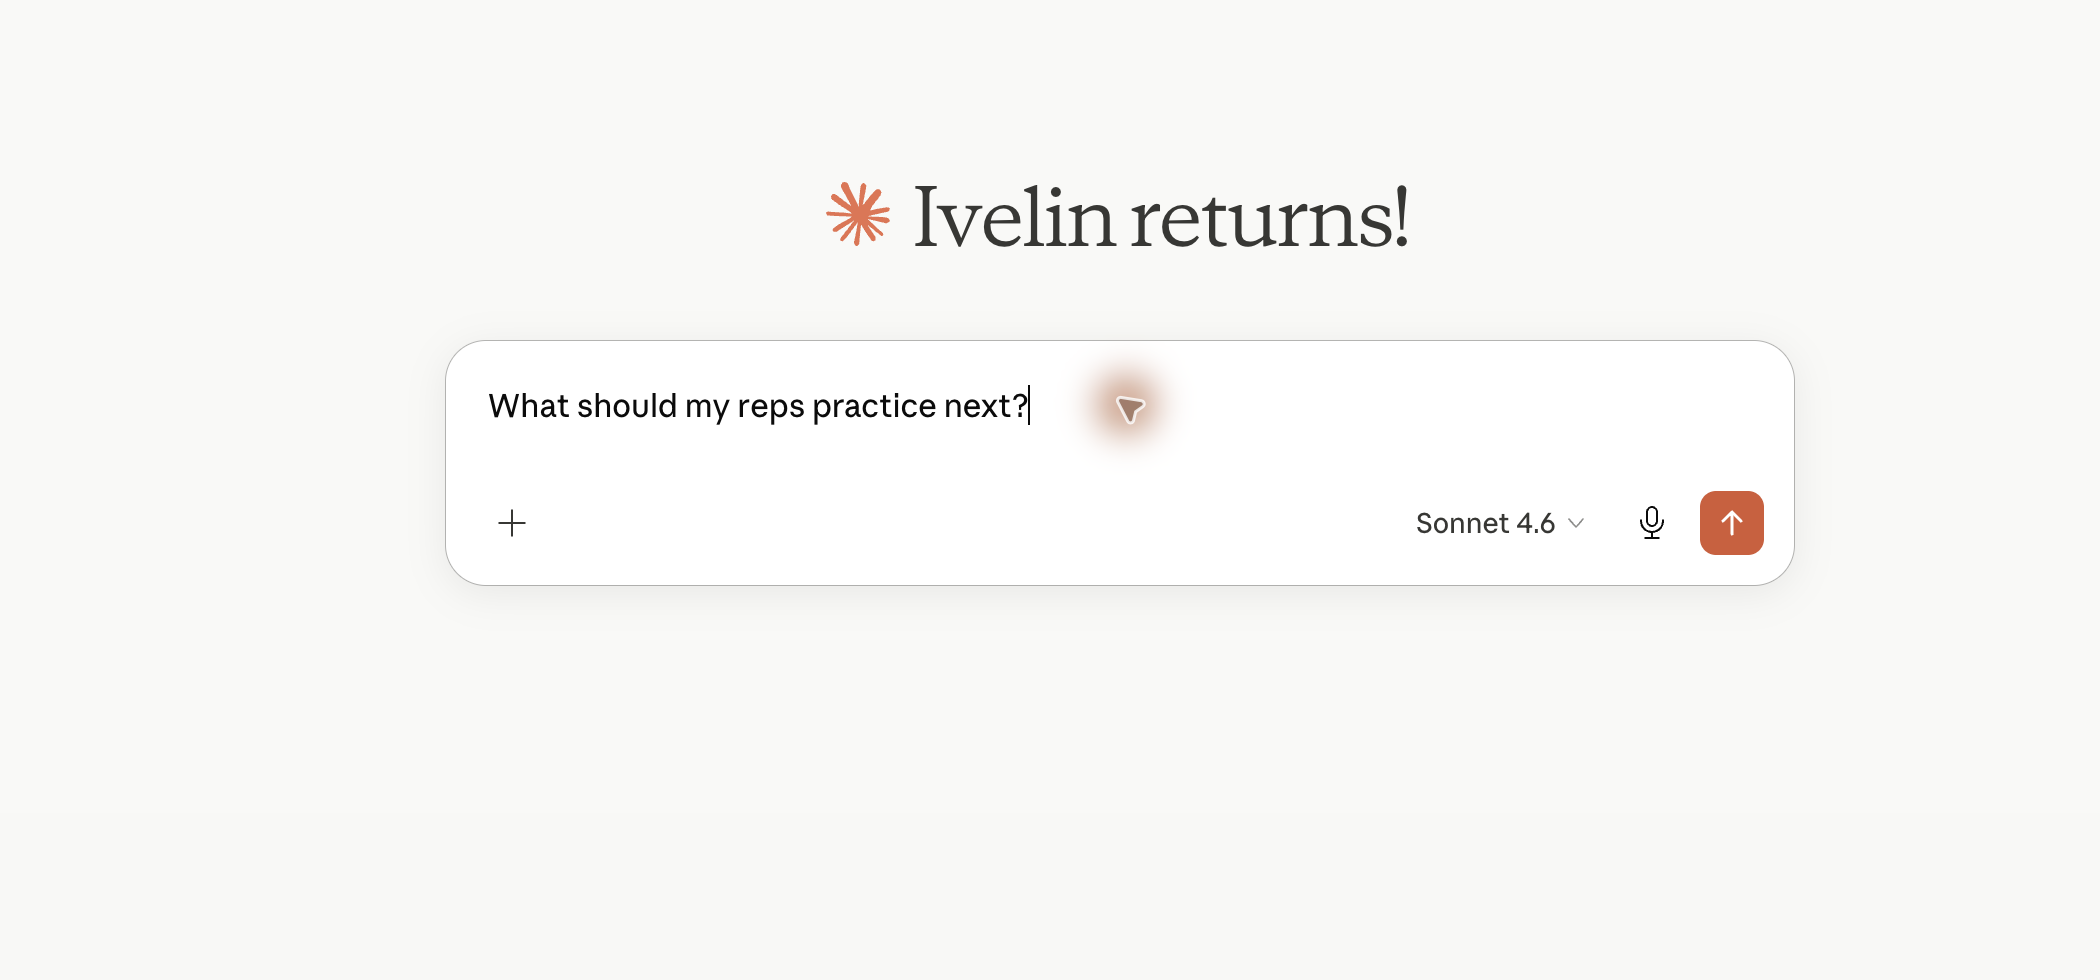
Type: What should my reps practice next? Then send the message.
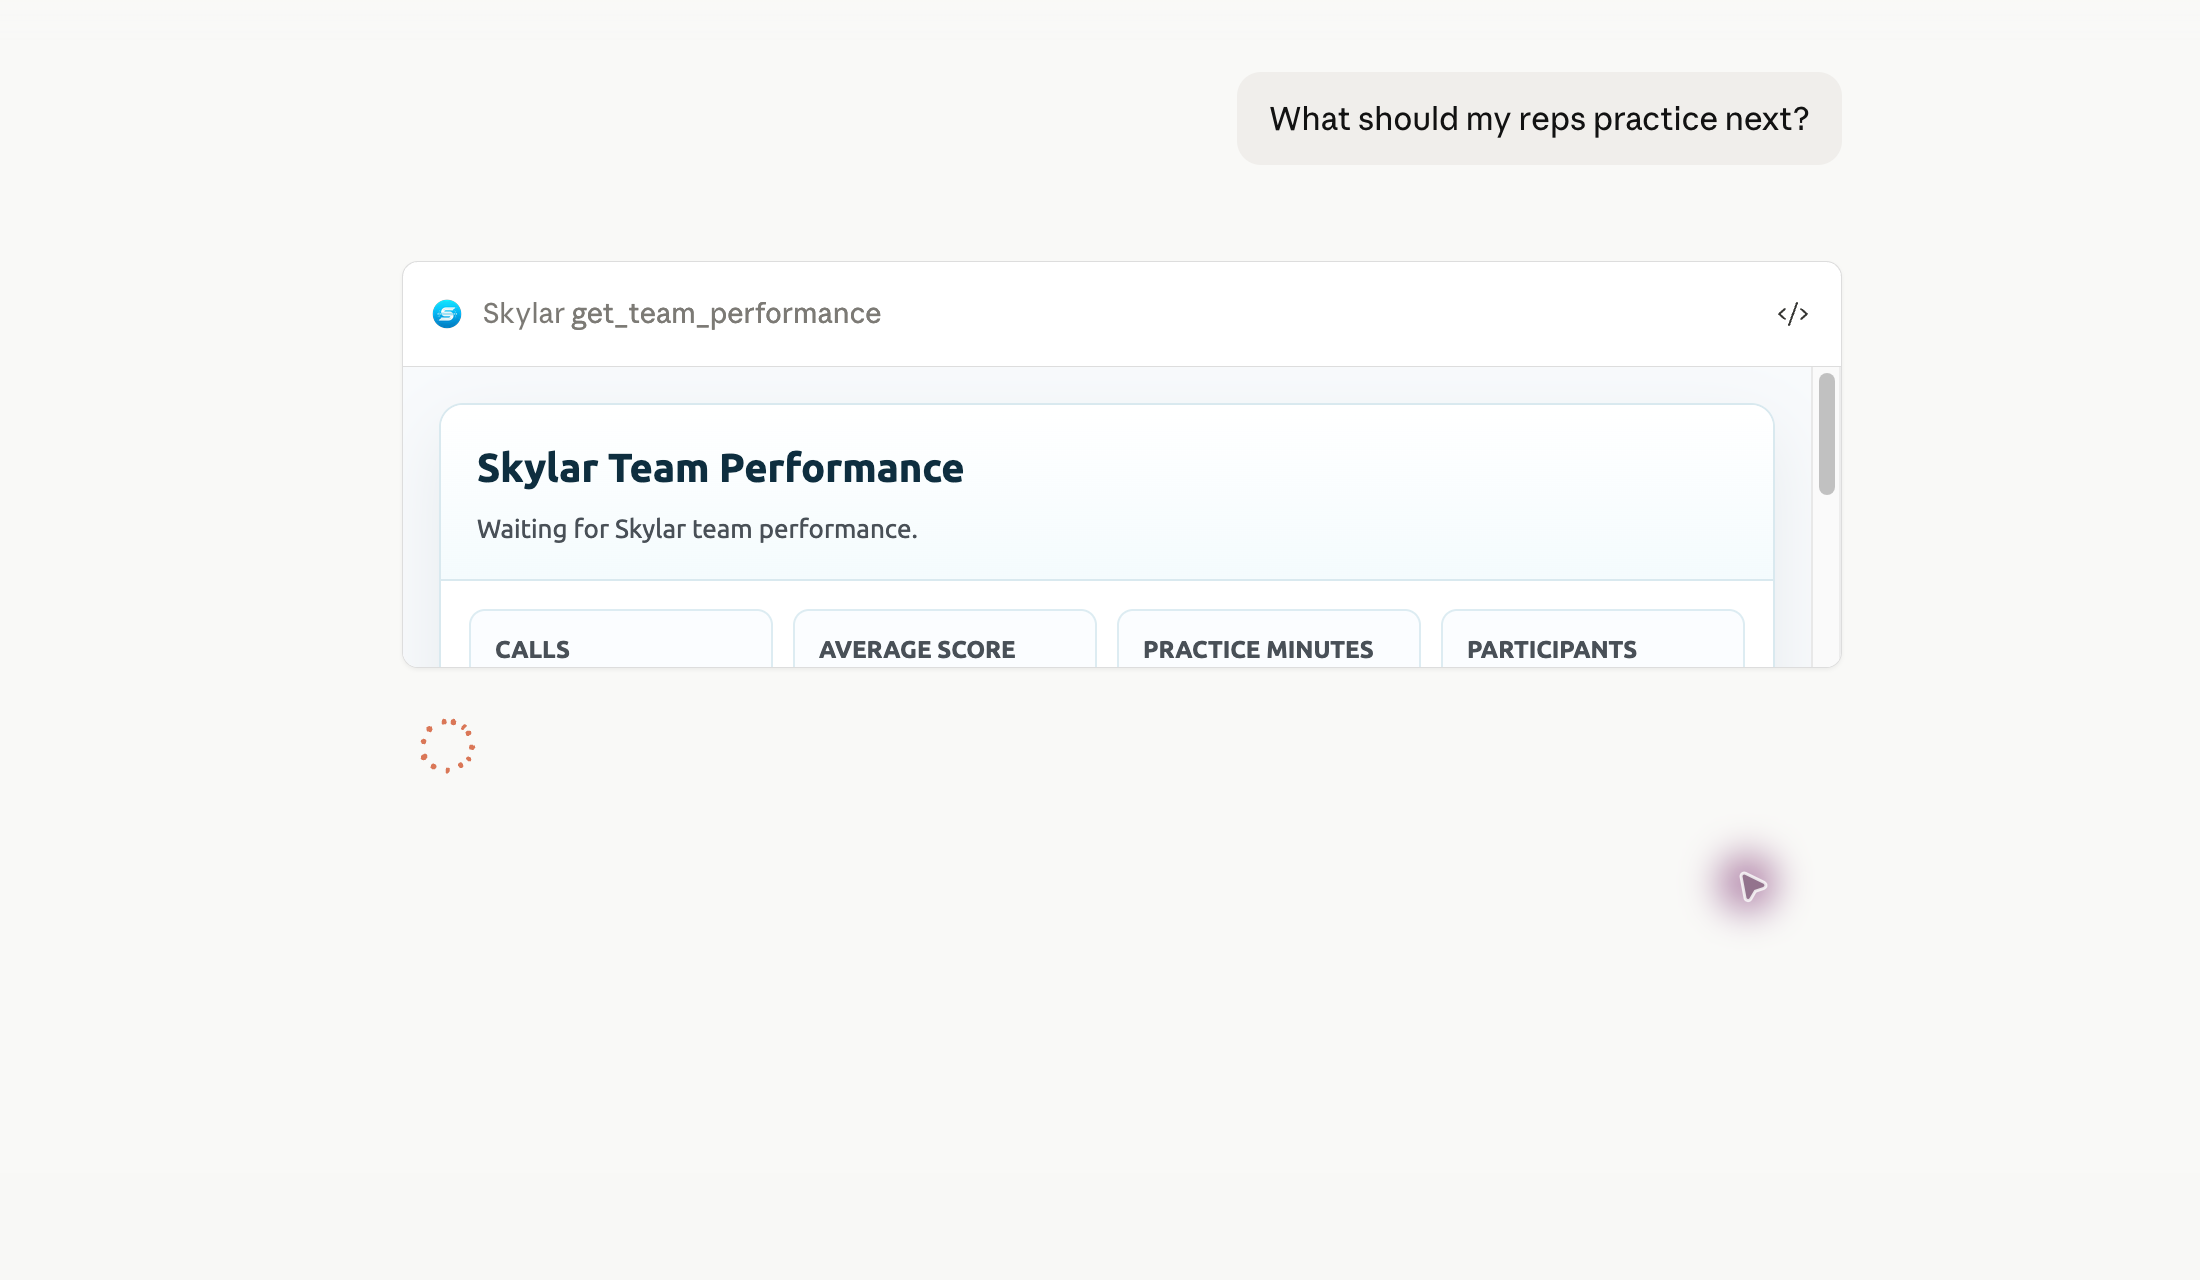
Step 7
Claude should call the Skylar MCP tools and show Skylar results in the conversation. If Claude asks for tool approval, approve the Skylar tool call to continue.
First command
After the connector is connected, start a new Claude chat and ask What should my reps practice next?
Claude should call the Skylar MCP tools and show Skylar results in the conversation. Approve the Skylar tool call if Claude asks for confirmation.
Short answers for the Skylar MCP setup in Claude.
Use https://app.getskylar.com/mcp as the remote MCP server URL.
Leave OAuth Client ID and OAuth Client Secret blank unless Skylar gives you specific values for your setup.
A useful first command is: What should my reps practice next?
Speak with the Skylar team if your Claude connector needs to be authorized for a workspace.